Aloe Vera Growing Guide: Light Essentials

Aloe Vera plants, known for their healing gel and striking green leaves, demand a bit more than just water and soil to flourish. The right light conditions play a pivotal role in their growth and health, a fact often overlooked. This guide is designed to shed light on how you can ensure your Aloe Vera not only survives but thrives, by providing it with the lighting conditions it craves. With a focus on the importance of light, we’ll explore ways to optimize your plant’s exposure, whether it’s basking in natural sunlight or relying on artificial sources.
Identifying Suitable Lighting Conditions for Aloe Vera
How to Provide Ideal Lighting for Aloe Vera Plants
Aloe Vera plants, with their delightful green leaves filled with soothing gel, aren’t just medicinal treasures; they’re also decorative beauties that can light up any room. Just like any plant, getting the lighting right is crucial for their growth and health. In this guide, I’ll walk you through the process of ensuring your Aloe Vera receives the ideal lighting to thrive. Let’s dive in!
Supplies Needed:
- Aloe Vera Plant
- Light meter (optional)
- Curtains or blinds (if using a very sunny window)
- Grow light (for indoor plants lacking natural light)
Step 1: Understand Aloe Vera’s Lighting Needs
Aloe Vera plants crave bright, indirect sunlight. They originate from tropical environments where they are used to basking in the sun, albeit often shielded by taller plants or rocks. Direct sunlight, especially during the peak hours of 10 AM to 3 PM, can scorch their leaves, leaving unsightly brown marks.
Step 2: Choose the Right Spot
Indoors: Place your Aloe near a window that gets plenty of sunlight throughout the day. East or west-facing windows are ideal, as they offer bright light without the harsh midday sun. Use a light meter to check if the spot receives adequate light if you’re unsure.
Outdoors: If you’re growing your Aloe outside, a spot that receives partial shade is perfect. Look for areas that get a good morning sun but are protected during the hottest part of the day.
Step 3: Monitor and Adjust
Pay close attention to your Aloe Vera’s leaves. If they start to turn brown or dry at the tips, it might be getting too much direct sunlight. On the other hand, if the plant is stretching out or its leaves are thinning, it’s probably not getting enough light. Adjust its position as needed, moving it away from or closer to the light source.
Step 4: Use Artificial Lighting if Necessary
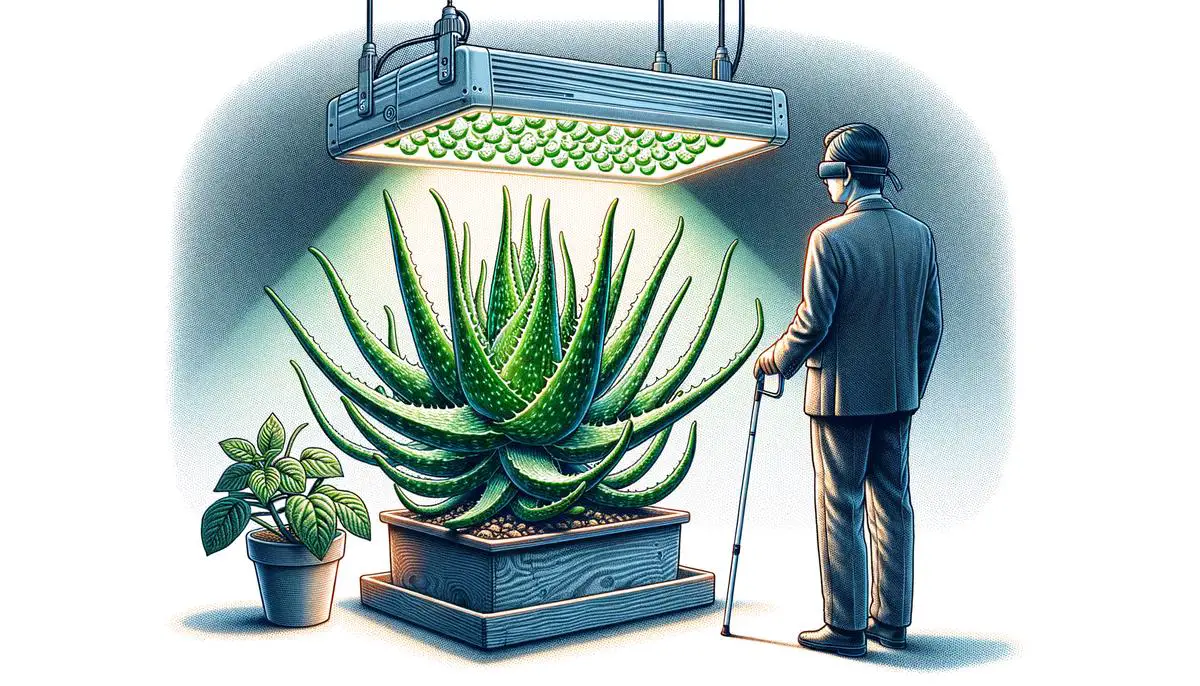
Not getting enough natural light? No worries. Artificial grow lights can come to the rescue. Position a grow light about two feet above your Aloe Vera plant. Set it to run for about 8 to 10 hours a day, mimicking natural sunlight. This is a fantastic way to ensure your Aloe gets the light it needs, especially during the darker winter months.
Tips for Success:
- Rotate your Aloe Vera occasionally to ensure all sides of the plant receive equal light.
- Clean the window regularly to maximize the amount of light coming through.
- If using grow lights, LED options are more energy-efficient and produce less heat, reducing the risk of scorching your plant.
Following these steps will set your Aloe Vera up for a happy, healthy life, showcasing vibrant leaves full of that miraculous gel we all love. Remember, observing your plant and adjusting its environment as needed is key to indoor gardening success. And with that, you’re all set to provide your Aloe Vera with the ideal lighting conditions it needs to thrive. Good luck, and enjoy the journey of nurturing your green friend!

Adjusting Your Aloe Vera’s Exposure to Light
Step 1: Protect Aloe Vera from Excessive Direct Sunlight
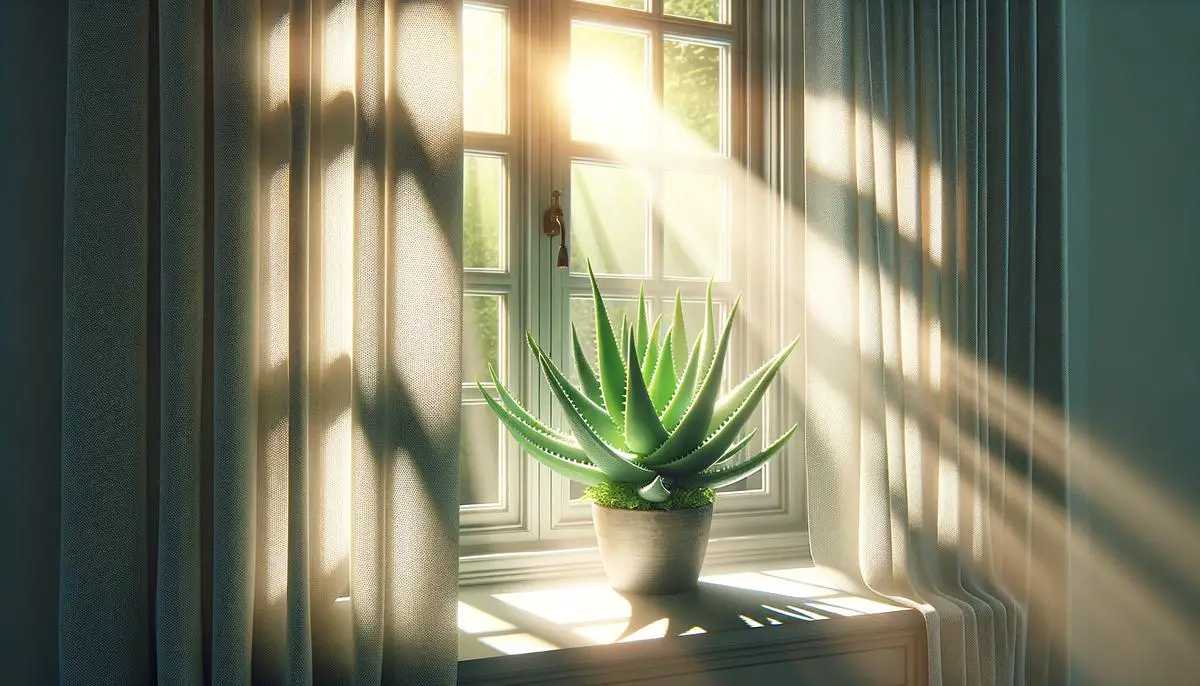
While Aloe Vera thrives in bright light, too much direct sunlight can cause harm, resulting in a sunburned appearance. To safeguard your plant, opt for a location that receives indirect sunlight for most of the day. If you’re placing it near a window that gets strong sun, diffuse the light using a sheer curtain. This simple adjustment helps filter the light, protecting the Aloe Vera from the intense rays while still providing it with the bright light it needs.
Step 2: Adjust for Seasonal Changes
Light conditions can vary significantly with the change of seasons. During winter months, when sunlight is less intense and days are shorter, move your Aloe Vera closer to the window to maximize light exposure. Conversely, in the scorching summer months, you might need to relocate it to a spot that gets more shade, especially during peak sun hours, to prevent overheating or sunburn. Monitoring seasonal light changes and adjusting the plant’s position accordingly ensures that your Aloe Vera receives an optimal amount of light year-round.
Step 3: Consider LED Grow Lights for Consistent Light Conditions
For those who lack a space with adequate natural light or wish to provide their Aloe Vera with consistent lighting, LED grow lights offer a practical solution. These lights simulate sunlight, promoting growth and ensuring your plant gets its light requirements regardless of natural light availability. Position the LED grow light above your Aloe Vera, making sure it’s not too close to prevent heat damage. A distance of approximately 12 to 24 inches (30 to 60 cm) is recommended. Remember to turn off the grow light after 12 to 14 hours to mimic natural day and night cycles.
Step 4: Observe and Tweak Lighting Based on Plant Health
Your Aloe Vera’s appearance serves as an excellent indicator of its light conditions. If you notice that your plant is becoming leggy or pale, it might not be receiving enough light. In this case, incrementally move it closer to a light source. On the other hand, brown or dry patches on the leaves suggest too much direct sunlight. If you observe such signs, adjust the position of your plant to a less exposed location or use curtains to filter the light. Regular observation and slight adjustments ensure that your Aloe Vera remains healthy and vibrant.
By following these steps and paying close attention to the Aloe Vera’s response to different light conditions, you can provide an optimal environment for your plant. Adjusting lighting conditions to meet the specific needs of your Aloe Vera not only promotes healthy growth but also enhances the beauty and longevity of your plant.

Monitoring and Adapting to Seasonal Light Changes
Step 1: Watering Aloe Vera Through the Seasons
Watering is crucial for Aloe Vera’s survival, but it changes with the seasons. During warmer months, Aloe Vera may require more frequent watering as the soil dries out quicker. In contrast, in cooler months, reduce the watering schedule since the plant enters a dormancy phase and uses less water. A simple finger test—inserting your finger about an inch into the soil—can guide you. If the soil feels dry, it’s time to water; if it feels moist, wait a few more days.
Step 2: Adjusting Humidity Levels
Aloe Vera thrives in dry conditions, mimicking its natural desert habitat. However, homes during winter, especially in colder climes, can become quite dry due to heating. Consider using a humidifier in the room if the air becomes too dry, but ensure the plant itself isn’t in a humid environment. This balance helps in avoiding issues like root rot, common in overly moist conditions.
Step 3: Temperature Considerations
This resilient plant prefers warmer temperatures, around 55-80°F, and doesn’t fare well in cold drafts or near frosty windows in winter. During the cold season, ensure your Aloe Vera is kept in a warmer spot away from window leaks or doors that frequently open to the cold outside. Conversely, ensure it isn’t placed too close to heating vents to avoid scorching leaves.
Step 4: Feeding Your Aloe Vera
Nutrition needs of Aloe Vera vary throughout the year. Feed your Aloe Vera with a succulent-specific fertilizer only during its growth phase in spring and summer, following instructions on the label for dilution and frequency. Pause feeding in fall and winter, as the plant grows minimally during these cooler, darker months.
Step 5: Repotting and Soil Adjustment
Repotting is best done in the spring or early summer when Aloe Vera is out of its dormant winter phase. Choose a pot only slightly larger than the current one, as Aloe Vera does well in snug conditions. Ensure the pot has good drainage to avoid water buildup. Use a well-draining soil mix, typically used for cacti or succulents, to provide the dry conditions Aloe Vera loves.
Step 6: Preparing for Dormancy
As daylight decreases, Aloe Vera prepares to enter a dormancy stage. During this time, the plant’s growth slows significantly. This natural cycle doesn’t require much from you except to respect the plant’s reduced water and nutritional needs. Keep an eye on the temperature and ensure your Aloe Vera is not exposed to the cold.
Step 7: Inspect for Pests and Diseases
Seasonal changes can sometimes bring about pests or diseases. Inspect your Aloe Vera regularly for any signs of distress, such as discoloration or unusual spots on the leaves. Gently cleaning the leaves with a soft, damp cloth can help prevent issues by removing dust that might attract pests.
Step 8: Enjoy the Beauty of Your Aloe Vera
Finally, remember that caring for Aloe Vera through the seasons lets you enjoy the beauty and benefits of this versatile plant year-round. Watch for signs of stress and adjust care routines accordingly. With these tailored steps, your Aloe Vera will thrive through changing seasons, adding a touch of greenery and tranquility to your space.
Remember, consistency is key. Regularly monitoring your Aloe Vera’s environment and adjusting care will help maintain its health and vibrancy throughout the year. Happy planting!

Ensuring your Aloe Vera plant receives the proper amount and type of light is a simple yet significant step towards cultivating a healthy, vibrant plant. From selecting the perfect spot to possibly employing artificial lighting, every action you take influences its growth. By maintaining a keen eye on your Aloe Vera’s light needs and making adjustments as necessary, you’re not just caring for a plant; you’re nurturing a living piece of decor that brings a bit of nature’s beauty into your space. Remember, the right light ignites life, allowing your Aloe Vera to shine in all its green glory.
