Spider Plant Falling Over: Common Diseases Explained

Spider plants are among the most beloved indoor green friends for their hardiness and ease of care. However, even these sturdy plants can encounter problems that threaten their health and beauty. In this comprehensive guide, we’ll explore common issues that spider plants face and offer straightforward solutions to keep them thriving. From the subtle signs of disease to the best practices for watering and repotting, every plant owner can benefit from understanding how to maintain the well-being of their spider plant.
Identifying Common Spider Plant Diseases
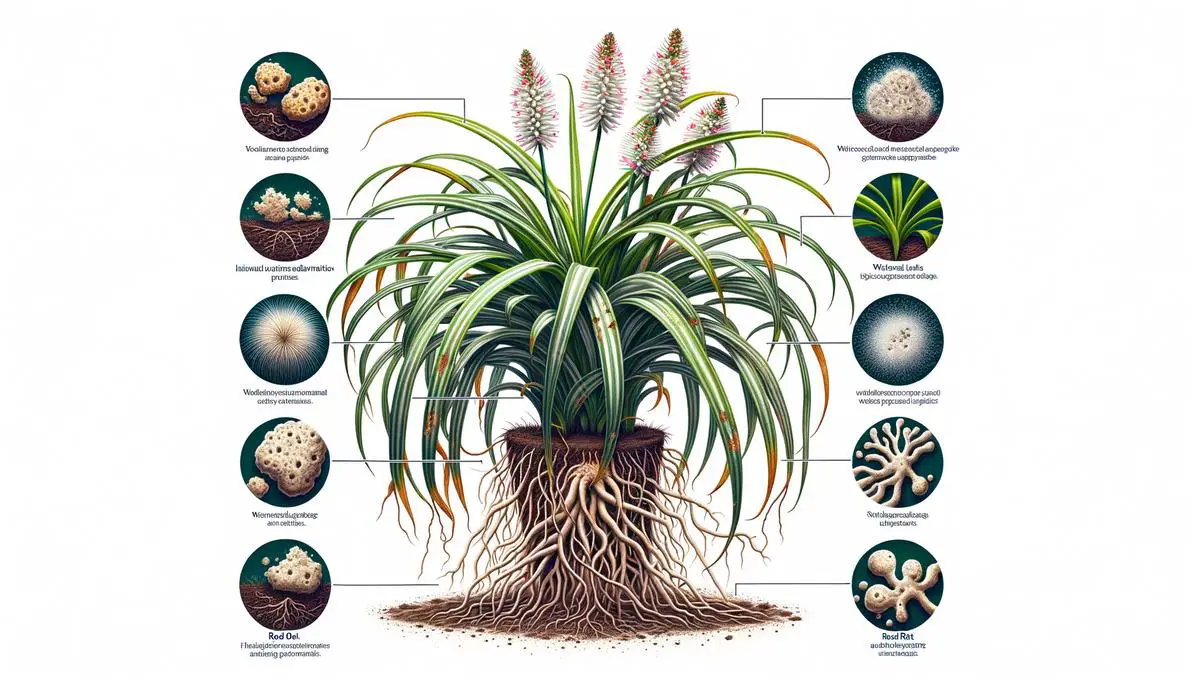
Spider plants are resilient and easy-to-care-for indoor plants, but like all living organisms, they’re susceptible to certain diseases. Recognizing the signs early on can help save your plant and prevent the diseases from spreading. In this guide, we’ll walk through the signs of the most common diseases affecting spider plants so you can take quick action.
Brown Tips on Leaves:
One of the first signs many plant owners notice is the browning of leaf tips. This could be due to improper watering (either too much or too little), but it’s also a symptom of excessive fluoride or chlorine in the water. Use filtered or distilled water to avoid this issue.
Root Rot:
If your spider plant’s leaves turn yellow, become soft, and wilt, it could be a sign of root rot, often caused by overwatering. Check the roots by gently removing the plant from its pot. Healthy roots are white and firm, while rotting ones are brown and mushy. If root rot is present, trim the affected roots and repot in fresh soil.
Leaf Spot Disease:
This disease is easy to spot by its name. Look for brown or black spots with a yellow halo on the leaves. These spots can grow and merge, causing severe damage to the plant. Leaf spot disease thrives in damp conditions, so ensure proper air circulation and avoid overhead watering.
Spider Mite Infestation:
Though not a disease, spider mite infestations can severely weaken your plant. Signs include fine webbing on the plant and small, yellow, or white spots on the leaves. Increase humidity around the plant and wash the leaves with water or insecticidal soap.
Fusarium Wilt:
This fungal disease causes leaves to turn yellow and wilt. Initially, it might affect only one side of the leaf or plant. Fusarium wilt attacks the plant’s vascular system, making it difficult for the plant to absorb water and nutrients. Unfortunately, there’s no cure once a plant is infected, so it’s essential to remove and dispose of the affected plant to prevent spread.
Botrytis Blight:
Also known as gray mold, Botrytis blight appears as fuzzy gray growth on the leaves and stems, especially in cool, wet conditions. Improve air circulation, reduce humidity around the plant, and remove any affected parts immediately.
By staying vigilant and checking your spider plant regularly for these signs, you can catch and address common diseases before they cause irreversible damage. Proper care, including the right watering schedule, using filtered water, and ensuring good air circulation, can prevent these issues and keep your spider plant thriving.

Proper Watering Techniques
Moving forward from the issues previously discussed, improper watering can significantly impact the structural integrity of your spider plant, leading to it falling over. This particular consequence is often overlooked but crucial for the health and display quality of your plant. Here’s how improper watering contributes to this problem and the steps you can take to mitigate it.
Soil Compaction and Root Health
Excessive Watering: Frequent overwatering compacts the soil, making it dense and heavy. This reduced aeration in the soil hampers the root’s growth and makes it difficult for the plant to stand upright. The roots become weak, losing their grip on the soil, which can result in the plant tipping over.
Underwatering: On the flip side, underwatering dries out the soil, making it too light and airy. This can cause an unstable growing environment where roots can’t anchor deeply, leading to a top-heavy plant that easily falls over.
How to Mitigate the Problem
- Check Moisture Levels Regularly: Before watering, stick your finger into the soil up to the second knuckle. If the soil feels dry, it’s time to water. If it feels wet or damp, give it a few more days.
- Use a Well-Draining Pot and Soil: Ensure your spider plant is in a pot with drainage holes and use a potting mix that promotes good drainage. A mix designed for houseplants generally contains the right combination of peat, pine bark, and perlite or vermiculite.
- Establish a Watering Schedule: Spider plants prefer a somewhat consistent watering schedule. Try to water them about once a week, but adjust according to temperature, humidity, and plant size. Remember, the goal is to keep the soil lightly moist but never soggy or completely dried out.
- Support With Stakes: For plants already tipping over, gently stake them up with a plant stick or a bamboo skewer. Tie the plant to the stake loosely with a soft material. This support helps the plant stay upright while you adjust the watering practices to ensure stronger growth.
- Repotting: If your plant is severely over or underwatered, repotting may be necessary. Choose a slightly larger pot and fresh, well-draining soil to give your plant a new lease on life. This is also a good opportunity to inspect the roots and trim away any that are damaged or rotting.
By understanding and correcting improper watering practices, you can prevent your spider plant from falling over and promote a lush, vibrant plant that thrives in your care. Remember, consistency and attention to the plant’s needs are key to fostering a healthy, upright spider plant.

Repotting and Soil Health Maintenance
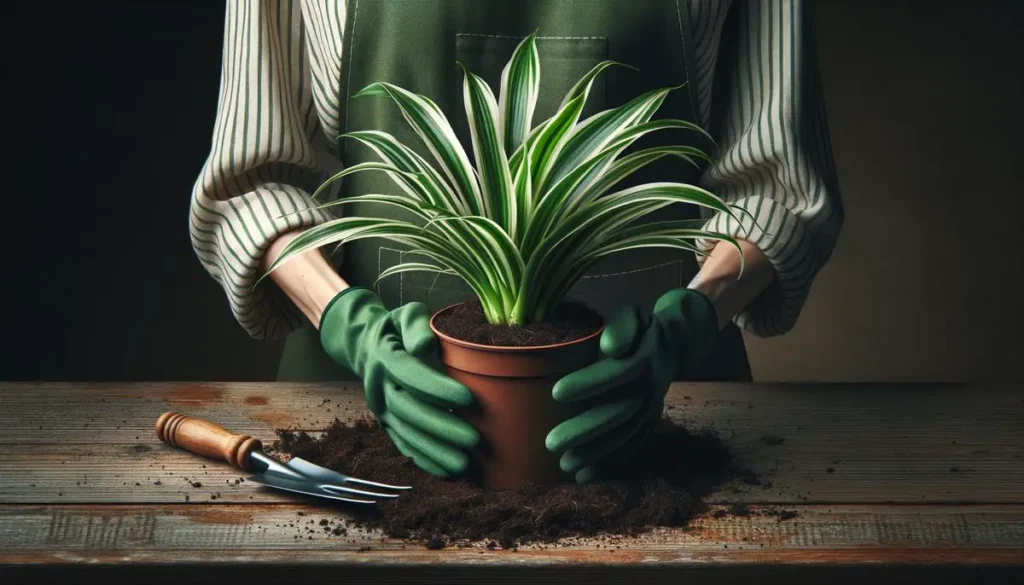
Repotting your spider plant is a crucial step for its optimal health, especially when it’s showing signs of distress or outgrowing its current home. Here’s a straightforward guide on doing it right, without delving into complexities.
Supplies Needed:
- New pot (1-2 inches larger in diameter than the current pot)
- Potting mix (preferably a well-draining type)
- Water
- Scissors or pruning shears
- Trowel or a small gardening shovel
Step 1: Choose the Right Time
Spring or early summer is the ideal time to repot your spider plant. This period aligns with their active growth phase, giving them ample time to adjust and thrive in their new pot.
Step 2: Preparing the New Home
Select a pot that’s 1-2 inches larger in diameter. Ensure it has drainage holes to prevent waterlogging. Fill the pot about one-third full with a well-draining potting mix. This setup encourages healthy root growth and prevents water retention issues.
Step 3: Gently Remove the Plant
Carefully tilt the current pot and gently coax the plant out by supporting the base with one hand. If the plant resists, tap the pot’s edges or slide a knife around the interior to loosen the soil.
Step 4: Inspect and Prune the Roots
Once out, examine the root system. Trim away any dead, damaged, or overly tangled roots with clean scissors or pruning shears. This step promotes vigorous growth by ensuring the plant isn’t expending energy on sustaining unhealthy roots.
Step 5: Position Your Spider Plant
Place your spider plant in the center of the new pot. Gradually add soil around the sides, gently tamping down to eliminate air pockets. Ensure the plant is seated at the same depth it was in its previous pot to avoid stem rot.
Step 6: Water Thoroughly
After repotting, water your spider plant generously. This initial watering settles the soil and helps rehydrate the roots. Allow excess water to drain out completely; standing water is a precursor to root rot.
Step 7: Post-Repotting Care
Position your repotted spider plant in a spot with bright, indirect light and resume your regular watering routine once the top inch of the soil feels dry. Avoid fertilizing immediately after repotting to give your plant time to adjust without overloading it with nutrients.
By following these instructions, you provide your spider plant with a fresh environment conducive to growth. Repotting can rejuvenate an underperforming plant, encouraging lush, vibrant foliage and a healthier life cycle. Remember, the key to a successful repotting lies in the preparation and gentle handling of your plant during the transition.

Caring for a spider plant goes beyond just providing water and light; it involves being attentive to the subtle cues that indicate its health. By familiarizing ourselves with common diseases, proper watering techniques, and the importance of repotting, we empower our plants to grow vigorously.
Remember, a little attention and care can make a significant difference, turning potential problems into opportunities for growth and renewal. Let this guide inspire you to nurture a lush, vibrant spider plant that brings life and beauty to your space.
